Buying a home across borders can make window repairs surprisingly complicated. Climate, building traditions, materials, and installation methods vary widely between regions. A window that performs well in a dry coastal town may fail in a humid mountain climate. Small differences matter.
This guide introduces seven practical tips for global buyers considering home repair windows. It focuses on visible warning signs, accurate measurements, ventilation, insulation, glazing, frame materials, and professional installation. You will learn why condensation between glass panes deserves attention, how soft timber may signal hidden moisture, and why a window that closes tightly can still leak air. Measure twice. Mistakes become expensive quickly.
Reliable decisions require more than online product comparisons. Buyers should inspect the property, record seasonal problems, and ask qualified local contractors about suitable solutions. Regional standards, warranties, and energy requirements may also differ, so confirm details with relevant professionals before ordering materials. Manufacturer documentation can help, but it does not replace an on-site assessment.
Some recommendations may not fit every home. Older buildings often contain irregular openings, patched frames, or unexpected wall damage. That reality is easy to overlook. Even experienced renovators can misjudge labor costs or delivery conditions. By combining careful observation, specialist advice, and realistic budgeting, international homeowners can reduce avoidable repairs and choose windows that suit both the building and its environment. Each tip offers a practical checkpoint, not a promise of perfection.
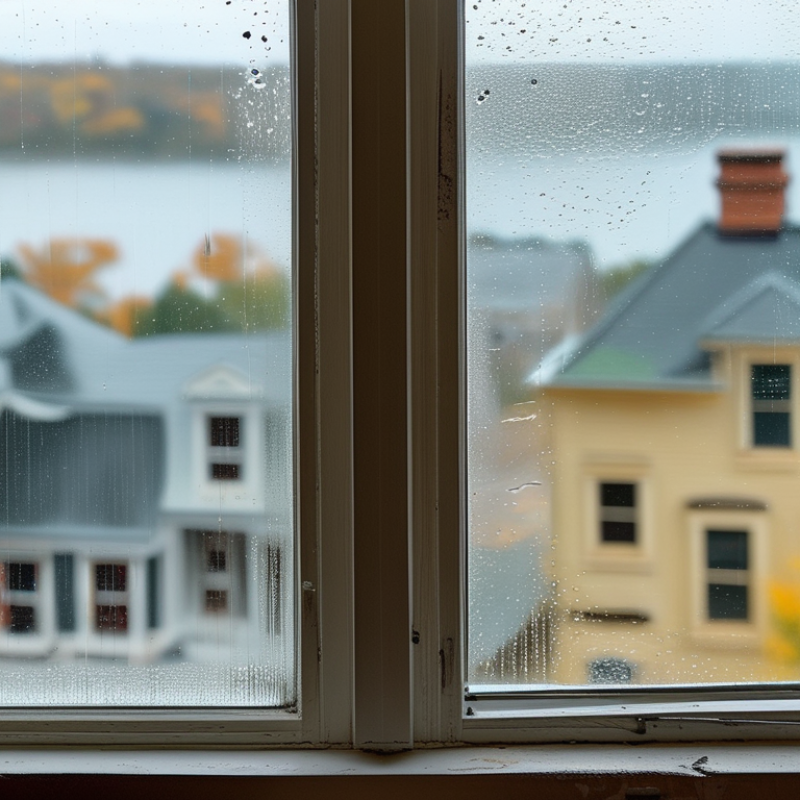
Windows fail differently across climates, building ages, and construction traditions. An experienced inspection starts indoors, then checks the exterior closely. Look for condensation between glass panes, soft timber, cracked sealant, and loose handles. These signs often reveal deeper moisture problems. Do not ignore small drafts.
Ask how the window drains rainwater. Blocked drainage channels can cause stains around the frame. Test every opening mechanism without forcing it. Measure gaps with a thin strip of paper. If it slides through easily, the seal may need attention. Check the frame material, too. Timber needs different care from aluminum or composite frames.
Regional weather also changes repair priorities. Coastal homes may suffer faster corrosion from salty air. Cold regions need strong seals and suitable glazing. Hot climates may require shading and heat-resistant materials. Local building rules can affect glass safety, ventilation, and emergency exits. A qualified local technician should confirm these details before replacement.
I once underestimated a tiny corner crack. It later allowed water behind the interior trim. That mistake taught me to inspect corners twice. Keep photographs, measurements, and repair dates for future tradespeople. Ask for written details about materials, drainage, labor, and expected service life. Be cautious when a repair quote sounds perfect. Real buildings rarely behave perfectly.

7 Home Repair Window Tips for Global Buyers
Inspecting window frames, glass, seals, and hardware can reveal problems before a purchase becomes expensive. Start with the frame corners, where moisture often leaves dark stains, swelling, or soft wood. Metal frames should feel firm, without corrosion around drainage openings. For plastic frames, check for warping and brittle sections. A small gap may look harmless, but it can admit water during heavy rain.
Tip: Press gently around each frame.
Examine the glass in daylight. Look for cracks, cloudy areas, scratches, or moisture trapped between panes. Condensation inside sealed glass usually indicates seal failure. It reduces insulation and may worsen in cold or humid climates. Run a thin piece of paper along the closed sash. If it slides freely, the seal may be weak. However, wind direction and indoor pressure can affect this simple test, so it should not be treated as proof.
Test every handle, hinge, latch, and locking point slowly. They should move without grinding, excessive force, or loose movement. Open the window slightly and check whether it stays in position. Listen for unusual sounds. They matter. Also inspect exterior sealant for gaps, peeling, or hardened edges, especially where the frame meets masonry. Local building standards differ, so confirm ventilation, emergency opening, and safety-glass requirements with a qualified surveyor. My own mistake was checking only sunny windows; hidden damp appeared after rain. A second inspection is often worth the time.
Choosing repair materials for a window begins with the climate, not the color. In humid tropical areas, use moisture-resistant sealants and corrosion-resistant fasteners. Look for products rated for repeated rain and strong sunlight. Test a small joint first. Some sealants cure poorly on damp surfaces, an easy mistake to make.
Older masonry homes often need flexible materials because walls shift slightly over time. Timber frames require breathable coatings that allow trapped moisture to escape. Concrete openings may need a compatible filler before sealing cracks. In apartment towers, confirm the frame material and repair limits before buying supplies. Do not force a rigid patch into a moving joint.
Coastal homes need extra protection against salt-laden air. Cold regions require sealants that tolerate freezing and thawing without becoming brittle. Dry, hot climates may demand materials with strong ultraviolet resistance. A shaded window can still experience large temperature changes. I once selected a hard filler for a timber frame, and the crack returned within one season. That failure changed my inspection routine. Now I check movement, moisture, and surface condition before choosing a product. Local building guidance and advice from a qualified repair professional can prevent unsafe shortcuts. Keep product instructions and installation records for future maintenance.
For global buyers, window repairs should begin with diagnosis, not force. Check the frame, sash, seals, hinges, and drainage holes in daylight. Photograph cracks before removing anything.
The International Energy Agency reports that buildings use about 30% of global final energy. Poorly sealed windows can quietly increase heating and cooling demand.
Tip one: isolate the room and keep children away. Tip two: wear cut-resistant gloves, eye protection, and sturdy shoes.
Use a stable platform, never a chair. Safety guidance from the U.S. Occupational Safety and Health Administration recommends three-point ladder contact and a 4:1 setup.
Tip three: measure width and height at three points.
Tip four: remove loose glass with tools, never bare hands.
Tip five: support a heavy sash with another adult.
For cracked insulated glass, replace the sealed unit instead of attempting a patch. Local building codes may require a qualified professional.
Tip six: apply compatible sealant to clean, dry surfaces. Keep drainage paths open.
Tip seven: open and close the window slowly, then check air, water, and lock performance after rain.
The U.S. Department of Energy estimates that windows can cause 25%–30% of residential heating and cooling energy use.
One honest flaw: I once trusted a visual seal and missed a hidden gap. Test carefully.
Stop if the frame is warped, the glass is shattered, or the window is above ground level. A qualified glazier should handle those conditions.
7 Home Repair Window Tips for Global Buyers
Testing Repairs and Planning Long-Term Window Maintenance
A repaired window should be tested before the contractor leaves. Open and close the sash several times. Check whether it rubs, sticks, or leaves an uneven gap. Run a damp cloth around the frame after light rain. Moisture often reveals leaks that dry surfaces hide. I also inspect the corners with a flashlight, where paint cracks and soft wood may begin. Small details matter.
Buyers in coastal, humid, cold, or dusty regions need different maintenance plans. Test seals before severe weather arrives. Look for fogging between glass panels, brittle rubber, loose hardware, and peeling exterior coatings. A simple paper test can help: close the window on a sheet of paper. If it slides out easily, the seal may be weak. This test is useful, but not perfect.
Keep dated photographs and repair receipts in one file. Record the window’s room, frame material, repair type, and inspection date. Clean drainage channels twice a year, especially after storms or construction work. Lubricate moving parts only when the hardware instructions allow it. Do not paint over drainage openings. That mistake is easy to make. A qualified local inspector should review uncertain damage, especially near structural walls. I would not rely on one successful repair as proof of long-term performance. Weather changes, buildings settle, and yesterday’s solution may need adjustment.
This chart presents practical review intervals for common window maintenance tasks. Cleaning tracks and checking weatherstripping twice a year can help reveal air leaks early, while caulk, hardware, locks, and emergency-opening checks should generally be reviewed at least annually. Actual timing depends on climate, installation quality, building movement, and window use.