
Menu

10 Best Window Door Installation Tips for Global Buyers

Buying windows and doors across borders involves more than comparing frame prices. The quality of window door installation often determines whether a high-performance product delivers its promised results. A poorly sealed frame can admit rain, noise, dust, and uncomfortable drafts. The details matter.

The U.S. Department of Energy reports that windows can account for 25–30% of residential heating and cooling energy use. That figure reflects the American housing market, but it shows why installation deserves serious attention. Globally, the International Energy Agency states that buildings consume about 30% of total energy demand. Small gaps around a frame can therefore create large, repeated losses over time. This guide presents ten practical installation tips for global buyers, covering measurement, climate selection, drainage, fixing methods, insulation, glazing, and final inspection.

Reliable work begins with evidence. Buyers should request product test reports, installation manuals, warranty conditions, and performance data based on recognized standards. ISO 10077-1 can support thermal-performance assessment, while regional systems such as NAFS may apply in North America. Local wind exposure, humidity, coastal salt, and wall construction must also influence the specification. A product suited to a dry inland project may fail beside a tropical coastline.

No checklist is perfect. Site conditions change. Experienced installers still need judgment when openings are uneven or substrates are damp. Photos of concealed membranes, measured tolerances, and documented water tests can improve accountability. These ten recommendations are practical, but they should be reviewed against local codes, verified manufacturer instructions, and the actual building envelope.
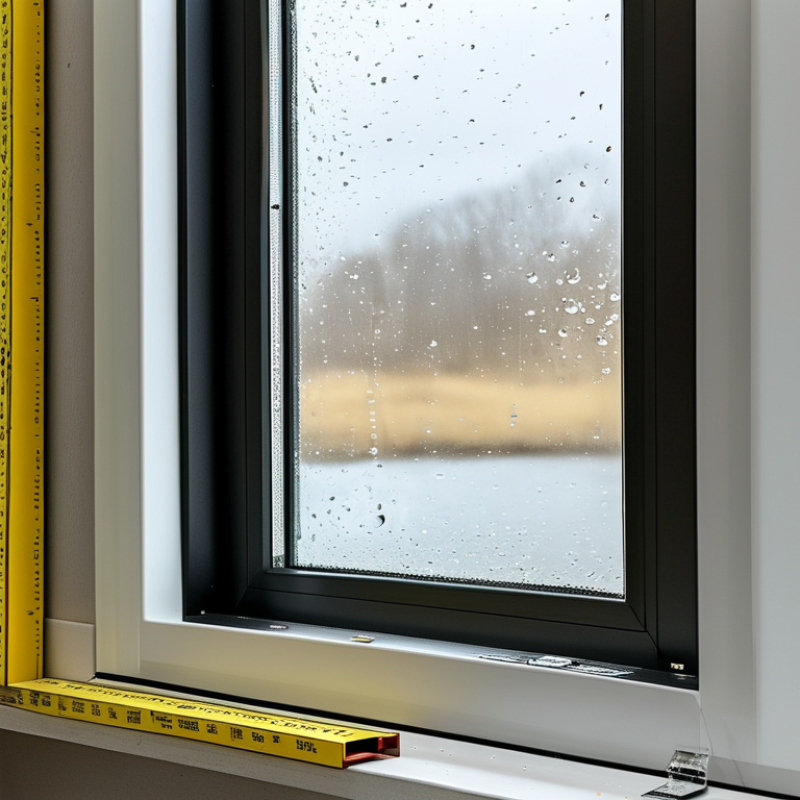
10 Best Window Door Installation Tips for Global Buyers

Assess Climate, Building Codes, and Window-Door Requirements

Before ordering windows and doors across borders, study the project climate, not just product brochures. Coastal air can corrode hardware, while mountain temperatures expose weak seals. In humid regions, choose drainage paths and finishes suited to persistent moisture. Strong sunlight also changes frame movement and glass performance. Ask for tested thermal, water, wind, and air results. Local weather data matters more than general climate labels. Keep this evidence.

Building codes control more than dimensions. They may specify U-values, solar heat gain, safety glazing, fire performance, ventilation, egress, and accessibility. Requirements can differ between a house, apartment, and commercial building. Confirm the authority having jurisdiction before production. A local architect or qualified installer should review drawings and installation details. I have seen projects delayed because a compliant window had an unacceptable sill height. The product was not the only problem. Stay skeptical.

Match every opening to its real use. A bathroom needs privacy and moisture control; a bedroom may need emergency escape clearance. Check wall thickness, rough-opening tolerance, sill slope, flashing, threshold height, and door swing. Request installation instructions in clear language, plus fastener and sealant specifications. Do not assume imported dimensions fit local masonry. Measure twice. Inspect the surrounding wall too. Site conditions are often less perfect than drawings. Build a written checklist, record approvals, and allow revisions when climate data or code feedback changes. This discipline costs time, but replacement costs more.
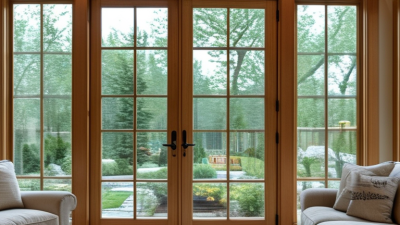

Choose Suitable Materials, Glass Types, and Energy Ratings

10 Best Window Door Installation Tips for Global Buyers

Choose materials for climate, exposure, and maintenance capacity. Fiberglass and reinforced vinyl resist moisture well. Wood offers warmth, but it needs careful sealing. Aluminum is durable, yet untreated frames can transfer heat quickly. I have seen beautiful frames underperform because installers ignored thermal breaks. A perfect specification is rare.

Glass selection should match the building’s direction and weather. Low-emissivity coatings reduce heat transfer, while double glazing improves indoor comfort. Triple glazing may suit cold regions, but it adds weight and cost. In hot climates, select a lower solar heat gain coefficient. In colder climates, a higher gain can support passive warmth. The U.S. Department of Energy estimates that windows cause about 25–30% of residential heating and cooling energy use. Small errors matter.

Tip: Read the energy label before comparing prices. NFRC ratings separate U-factor, solar heat gain coefficient, visible transmittance, and air leakage. Do not judge performance from glass thickness alone. The International Energy Agency reports that global space-cooling demand could more than triple by 2050. That makes solar control increasingly important. Confirm local climate data, wall orientation, drainage details, and installer experience. I would also request a written installation tolerance. Many failures begin with gaps around the frame, not with the glass.

Verify Measurements, Opening Conditions, and Installation Clearances

Verify Measurements, Opening Conditions, and Installation Clearances

Accurate measurements are the foundation of reliable window and door installation. Measure width and height at three points, then record the smallest value. Check diagonals too. A square opening can still hide movement, moisture damage, or weak framing. Use millimetres and state the measuring method clearly when ordering internationally.

Inspect the opening before delivery. Look for twisted studs, cracked masonry, standing water, and missing drainage paths. Leave the clearance required by the product instructions, not a guessed gap. The AAMA/WDMA/CSA 101/I.S.2/A440 standard classifies performance, but it does not replace site verification. The U.S. Department of Energy reports that windows can represent about 25–30% of residential heating and cooling energy use. Poor sealing can waste part of that investment.

Small details matter. Confirm sill support, shims, fastener zones, flashing sequence, and interior air sealing. Keep the frame plumb and level before tightening screws. A distorted frame may operate badly even when the glass looks perfect. The International Energy Agency’s 2023 buildings report states that buildings consume about 30% of global final energy. Installation quality is only one part of that challenge. These figures are useful, but not a promise. Local climate, wall construction, and workmanship change the result. Even careful teams miss something. Recheck before sealing permanently.

10 Best Window Door Installation Tips for Global Buyers - Verify Measurements, Opening Conditions, and Installation Clearances

Use this table as a practical pre-installation checklist. Dimensions and clearances are planning references only; confirm the applicable building code, project specifications, manufacturer instructions, and local weather-performance requirements before installation.

No. Installation Tip What to Verify Practical Measurement or Reference Recommended Buyer Action Main Risk if Ignored
1 Measure the opening width at three points Measure near the top, center, and bottom of the rough or structural opening. Check both sides are accessible and free of obstructions. Record the smallest width. Do not size the unit from only one measurement or from the nominal opening label. Submit a dated measurement sheet with at least three width readings in millimetres and inches, including the wall type and opening location. The frame may not fit, may require unauthorized alterations, or may have uneven installation gaps.
2 Measure the opening height at three points Measure at the left, center, and right sides from the same finished reference surface. Identify sloping sills or uneven floors. Use the smallest height for planning and compare it with the overall frame height plus the required installation clearance. Provide photographs showing the tape measure, sill condition, head condition, and the reference surfaces used. The unit can bind, sit out of level, or leave insufficient space for shims, sealants, and drainage.
3 Check that the opening is square Measure both diagonal distances from opposite corners after removing loose debris and temporary packing. A small diagonal difference is preferable. Use the project tolerance; where no tolerance is specified, many installers target a difference of approximately 3 mm or less, subject to the product instructions. Do not force a rectangular frame into a distorted opening. Correct the substrate or obtain written approval for an alternative installation method. Sashes and door leaves may not operate correctly, and locking points may fail to align.
4 Verify plumb, level, and substrate stability Check the jambs for plumb, the sill for level, and the head for deflection. Inspect masonry, timber, steel, or concrete for cracks and movement. Use a spirit level or calibrated laser level. The acceptable deviation depends on the product, opening size, and local specification. Repair weak or moving substrates before delivery. Mark any areas requiring packers, structural support, or a sill pan. Fasteners can loosen, sealants can fail, and the unit can become difficult to open or close.
5 Confirm the installation clearance Confirm the designed gap between the frame and the opening, including space for shims, insulation, movement, and sealant. There is no universal clearance: the required gap is product- and opening-dependent. A common planning range is about 10–15 mm per side, but the approved installation guide takes priority. Request a dimensioned installation detail before production. Never reduce the clearance simply to make an oversized unit fit. Insufficient space can cause frame distortion; excessive space can reduce fixing strength and weather resistance.
6 Inspect sill drainage and water management Check whether the sill has a slope, drainage path, sill pan, end dams, weep holes, or another approved method for directing water outward. Drainage details must remain unobstructed. Do not cover designed weep holes with sealant, render, insulation, or trim. Obtain a section drawing showing the sill, flashing, membrane, cladding, and interior finish transitions. Water can accumulate inside the wall, causing staining, corrosion, mould, or deterioration of surrounding materials.
7 Select compatible fasteners and support points Verify the wall material, frame material, fastener type, fixing positions, packer locations, and the presence of hidden services. Fastener spacing and edge distances must follow the approved product instructions and structural requirements; they are not interchangeable across wall types. Ask for a fixing schedule identifying fastener material, minimum embedment, spacing, and any corrosion category required for the site. Inadequate fixing can lead to movement, air leakage, water penetration, or detachment under wind load.
8 Allow for thermal and structural movement Consider frame expansion, building settlement, floor deflection, seismic movement, and differences between adjacent materials. Movement allowances depend on frame size, material, colour, climate, exposure, and building movement. Follow the engineered joint detail rather than using a fixed universal gap. Confirm the installation joint, backer material, sealant class, and movement capability with the project designer or supplier before ordering. The frame or glass can crack, sealants can split, and operating forces can increase over time.
9 Check clearance for operation and finishing Verify that doors, casements, handles, locks, screens, shutters, blinds, trim, flooring, and nearby walls have adequate operating space. Check the complete swing, slide, tilt, and cleaning positions. For egress openings, verify the required clear opening under the applicable local code. Use a full-size floor plan or opening schedule and identify finished-floor level, furniture zones, hardware height, and emergency-exit requirements. The unit may strike adjacent objects, fail accessibility requirements, or become unsafe to use.
10 Document final checks before and after installation Record product dimensions, opening measurements, batch or order references, visible damage, installed clearances, fasteners, sealants, and drainage paths. Photograph all sides before concealment and repeat measurements after fixing. Test operation, locking, drainage, and visible sealant continuity. Keep an inspection file containing drawings, approvals, delivery records, photographs, test results, and written deviations or corrections. Unrecorded defects become difficult to assign, correct, or support during warranty and handover.
Important: All dimensions should be verified at the actual project site. Local requirements for wind load, fire safety, energy performance, accessibility, egress, seismic design, moisture control, and glazing safety may require additional engineering or inspection.

Plan Weatherproofing, Fastening, Insulation, and Drainage

Weatherproofing begins before the frame enters the opening. The International Energy Agency’s Buildings 2023 report states that buildings consume about 30% of global final energy. Poorly sealed windows and doors increase that burden. Installers should inspect the rough opening, confirm level and squareness, then apply compatible sill flashing with end dams. Water needs an exit. Keep drainage paths open, and never bury weep holes under sealant.

Fastening must accommodate movement without distorting the frame. Use corrosion-resistant screws suited to the substrate, and follow the tested spacing specified for the product and wall system. Over-tightening can bow the jamb and create difficult operating problems. The U.S. Department of Energy notes that uncontrolled air leakage can account for 25–40% of heating and cooling energy use in typical homes. A continuous perimeter seal matters. Backer rod and flexible sealant often perform better than a thick, unsupported bead.

Insulate the gap with low-expansion foam or another approved material, leaving room for thermal movement. Seal the interior air barrier separately from the exterior rain barrier. That distinction is easy to miss. In cold or humid regions, condensation risk deserves a site-specific review, especially around metal frames. Even experienced crews should photograph flashing layers and record fastener locations. The process is not flawless; a rushed inspection can still overlook a blocked drain or an incompatible sealant. Reference documents should include the project specification, local code, ASTM E2112 guidance, and the manufacturer’s tested installation details.

Inspect the Finished Installation and Confirm Warranty Coverage

A finished window or door installation needs more than a clean frame. Open and close every panel several times. Check for rubbing, uneven gaps, loose handles, and locks that need force. Stand inside during daylight and inspect the seals for visible cracks or compression. Look below the frame for drainage openings, protective caps, and trapped debris.

Use a gentle water test around the exterior joints, especially at corners and sill connections. Water should drain outward, not collect indoors. Take clear photos of each opening, including glass markings, hardware, sealant lines, and any unfinished trim. I once accepted a neat installation without testing the lock. It needed adjustment later. That small oversight delayed the handover.

Ask for a signed completion record before the installers leave. It should list the installation date, product details, covered parts, labor coverage, and the process for reporting defects. Confirm whether damage from poor maintenance, extreme weather, or unauthorized repairs is excluded. Warranty terms can differ between the product and installation work. Get both documents in writing.

Check the service contact and response period. Keep invoices, inspection photos, and repair records in one file. If a defect appears, report it promptly and describe the location precisely. A vague complaint may slow technical assessment. Local building requirements may also affect acceptance, so request relevant compliance documents where applicable. Do not sign final approval while obvious adjustments remain.

10 Best Window Door Installation Tips for Global Buyers - Inspect the Finished Installation and Confirm Warranty Coverage

The chart presents common example warranty periods that buyers should verify in the written contract. Product, hardware, finish, glass, and installation coverage often have different terms, so confirm exclusions, required maintenance, claim procedures, and whether labor is included before accepting the finished installation.