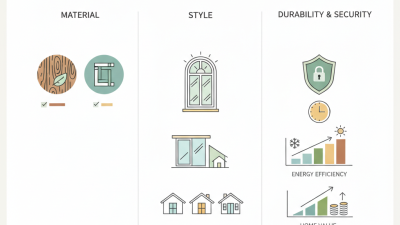
Buying a home often begins with attractive views, bright rooms, and polished listing photographs. Windows can quietly reveal a different story. During showings, test every sash, latch, lock, and screen. Notice drafts near corners, condensation between panes, soft wood, peeling paint, and uneven gaps. These small clues may signal moisture intrusion, failed seals, or movement in the frame. A window that sticks is not automatically a deal breaker. It is a question worth investigating.
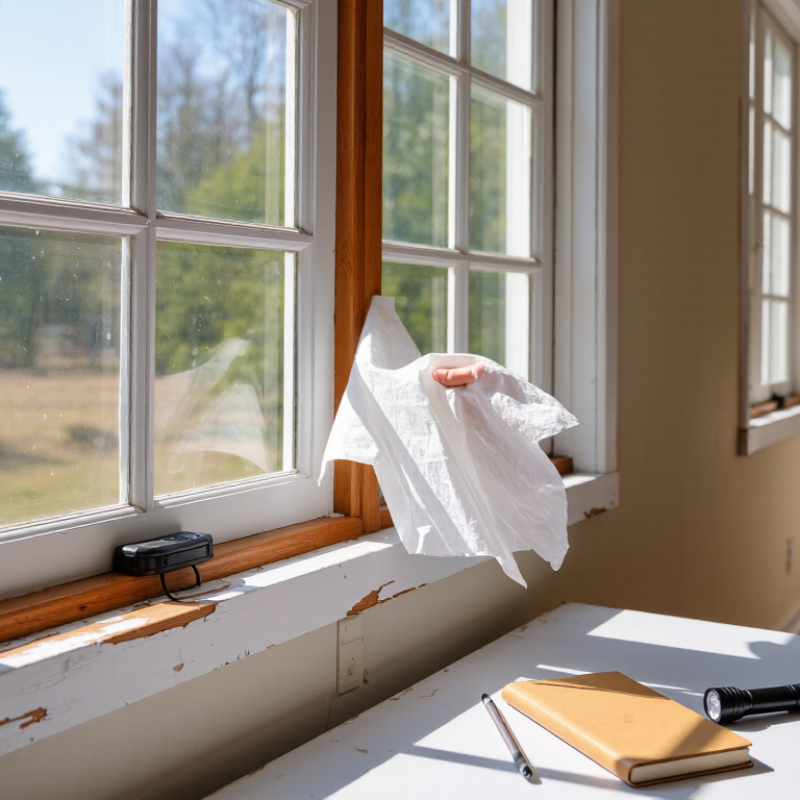
This guide presents 10 home repair window tips every buyer should know before making an offer. The advice reflects practical inspection habits, manufacturer guidance, and common repair decisions faced by homeowners. You will learn how to separate a loose handle from a damaged balance system, and a fogged pane from a larger moisture problem. Bring a flashlight, tissue, and simple notebook. A tissue fluttering beside the sash can make an invisible draft obvious. Do not rely on appearance alone.
Ask when the windows were installed, who repaired them, and whether receipts or warranties exist. A qualified home inspector can check flashing, drainage, exterior sealant, and nearby wall damage. Local repair costs vary, so obtain written estimates before treating defects as bargaining points. Some fixes are inexpensive; replacement can be substantial. I have seen buyers underestimate trim damage because the glass looked perfect. That mistake is easy to repeat. Slow down, record what you find, and leave room for uncertainty. Good decisions need evidence, not alarm.
When buying a home, window age reveals more than energy efficiency. Homes built before 1978 may contain lead-based paint, especially around old sashes, frames, and trim. The danger increases when paint flakes, rubs, or becomes dust. Opening a stiff window can disturb painted surfaces repeatedly.
I once treated peeling paint as a cosmetic defect. That was too casual. Damaged paint near a child’s play area, bedroom, or window seat deserves careful attention. Look for chalky residue, paint chips, swollen wood, and dust inside the track. Moisture damage can hide beneath several paint layers. A basic test may provide clues, but it cannot replace a qualified lead risk assessment. For renovation work that disturbs paint, use a properly certified professional and request clear documentation.
Tips: Ask when each window was installed. Photograph damaged areas before touching them. Do not sand, dry-scrape, or sweep suspected paint dust. Keep children away from loose chips. Ask the seller whether previous repairs involved lead-safe practices. Check locks, glazing, and opening strength without forcing anything. A window that sticks may signal paint buildup, warped wood, or deeper moisture problems. Small warning signs matter. Buyers sometimes focus on cracked glass and miss contaminated dust in the sill. That mistake can become expensive, and more importantly, difficult to undo.
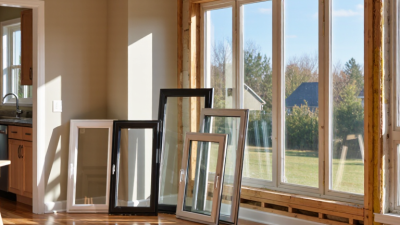
Windows can quietly shape a home’s comfort and utility bills.
Energy-efficiency guidance estimates that windows may account for 25–30% of household energy use. That figure varies with climate, orientation, shading, and heating equipment. During a viewing, stand near each window for one minute. Notice cold air, street noise, condensation, or uneven temperatures. Small clues often reveal larger repair costs. A beautiful view does not prove a sound window.
Check ten details: frame cracks, warped sashes, soft wood, peeling finish, loose hardware, broken glass, failed double-pane seals, damaged weather-stripping, blocked drainage holes, and gaps around the trim.
Open and lock every window. Press gently near the corners. Look for fog between panes; it usually means the insulating seal has failed.
Run a thin tissue along closed edges on a windy day. It should remain still. Do not rely on recent paintwork. Paint can hide rot, briefly.
Ask for installation dates, repair invoices, and evidence of water entry.
An independent inspector can use moisture meters and infrared tools, though these tools are not perfect. Photograph each defect beside a ruler and request written repair estimates. Replacing one pane may be reasonable. Replacing an entire window wall can change the budget sharply.
Even a careful checklist can miss something. Recheck the windows after rain, when leaks become easier to see.
When comparing replacement windows, start with the NFRC label, not the frame color or showroom display. The U-factor measures how quickly heat passes through the window. Lower numbers indicate better insulation. In a winter inspection, a window rated 0.30 usually resists heat loss better than one rated 0.50.
SHGC shows how much solar heat enters through the glass. A lower SHGC can reduce overheating on sunny west-facing rooms. However, homes in colder climates may benefit from a higher rating on south-facing windows. Orientation matters. Compare windows with similar sizes, glazing, and frame materials for useful results. Otherwise, the numbers can mislead you.
I record both ratings during site visits and photograph the label before ordering. That small habit prevents expensive memory errors. Check the installation details, too. Even an efficient window can perform poorly with gaps, compressed insulation, or missing flashing. Air leakage and condensation deserve attention, although they may not appear in the two ratings alone. I once focused too heavily on a low U-factor and overlooked afternoon glare in a bedroom. That choice needed more thought. Ask the installer how the window will be sealed, drained, and adjusted after installation. A reliable comparison includes the glass, the room’s exposure, and the quality of the repair work.
| Tip | What to Check | Relevant Rating or Measurement | Practical Comparison Guide | Recommended Buyer Action |
|---|---|---|---|---|
| 1. Read the complete rating label | Confirm that the label applies to the complete window unit, including the frame, glazing, and spacer system. | NFRC-certified values | Compare products using the same rating method and operating dimensions rather than relying only on center-of-glass claims. | Photograph the label and record the U-factor, SHGC, VT, air leakage, and condensation-resistance values before purchase. |
| 2. Compare U-factor for heat loss | U-factor measures how readily heat flows through the window assembly. Lower values indicate better insulation. | U-factor: Btu/(h·ft²·°F) | About 0.30 or lower: generally strong insulating performance for many replacement applications. Around 0.20–0.25 indicates a highly insulating design. | Give U-factor priority in heating-dominated climates and when reducing winter heat loss is the main goal. |
| 3. Select SHGC for the climate and orientation | Solar Heat Gain Coefficient indicates the fraction of incident solar radiation admitted through the window. | SHGC: 0 to 1 scale | Lower SHGC: helps limit summer solar heat. Higher SHGC: can admit useful winter sunlight in heating-dominated locations. | Use lower SHGC on sunny west- and south-facing windows where summer overheating is a concern; consider moderate or higher SHGC where passive winter solar gain is useful. |
| 4. Check visible transmittance | Visible Transmittance indicates how much visible light passes through the glazing. | VT: 0 to 1 scale | A VT near 0.50 transmits about half of available visible light. Higher VT generally provides a brighter interior, although coatings and tint can reduce daylight. | Balance VT with glare control, privacy, energy performance, and the room’s daylight needs. |
| 5. Inspect air leakage | Air leakage reflects the amount of unintentional air movement through a closed and latched window. | Air leakage: ft³/min·ft² | Lower is better. A value of 0.30 or less is a useful comparison target when available; actual performance also depends on installation and maintenance. | Look for worn weatherstripping, gaps at corners, loose locks, and poor shimming around the frame. |
| 6. Review condensation resistance | This rating estimates how well a product resists interior surface condensation under standardized test conditions. | CR: 1 to 100 scale | Higher is better. A rating around 50 or above may offer stronger comparative resistance, but indoor humidity, ventilation, and room temperature remain important. | Reduce indoor humidity and improve air circulation before assuming condensation is caused only by the window. |
| 7. Verify the glazing configuration | Identify the number of panes, gas fill if disclosed, low-emissivity coating, spacer type, and glass thickness. | Glazing construction | Double glazing generally insulates better than single glazing; triple glazing can improve insulation further but may add weight, cost, and installation requirements. | Match the glazing choice to the climate, frame condition, wall depth, and structural capacity of the opening. |
| 8. Measure the existing opening correctly | Measure width and height at multiple points, then check whether the opening is square, level, and plumb. | Opening dimensions and tolerances | Take at least three width and three height measurements. Use the smallest measurement when ordering a replacement unit, subject to the manufacturer’s installation requirements. | Do not measure only the visible glass or sash. Confirm the rough opening and the existing frame condition before finalizing dimensions. |
| 9. Inspect the frame and surrounding wall | Look for rot, water staining, failed sealant, damaged flashing, soft sheathing, and mold-like discoloration. | Condition assessment | A high-efficiency window cannot correct concealed water damage or a failed drainage path. Moisture problems should be repaired before installation. | Probe suspicious wood carefully, inspect the sill and corners, and identify the exterior water-shedding path before removing the old unit. |
| 10. Confirm installation and operation requirements | Check that the replacement can be flashed, insulated, sealed, locked, opened, and cleaned safely. | Installation quality and usability | Correct installation is essential for achieving rated efficiency. A window that binds, leaks, or cannot be locked may perform poorly regardless of its label values. | Use compatible flashing and sealants, maintain drainage paths, insulate the perimeter without bowing the frame, and test every sash after installation. |
| Comparison note: U-factor and SHGC are complementary metrics. U-factor evaluates heat transfer through the window assembly, while SHGC evaluates solar heat admitted through the glazing. Always compare products with the same units and confirm local energy-code requirements before ordering. | ||||
Home Repair Window Tips Every Buyer Should Know
Drafty windows can raise heating and cooling costs, but repair should begin with simple measures. The U.S. Department of Energy recommends caulking and weatherstripping before considering replacement. Inspect the frame on a dry day. Look for cracked sealant, loose joints, and visible gaps around the sash. A tissue held near the edge can reveal moving air. Do not use an open flame.
Caulk belongs on fixed gaps, such as joints between the frame and wall. Weatherstripping fits moving parts, including the meeting rail and sash edges. Clean and dry each surface first. Otherwise, the material may peel within weeks. Choose a product suitable for the window surface and local weather. Keep weep holes clear, because sealing them can trap rainwater inside the frame. That mistake is easy to make.
Tips: Check one window before buying supplies for the whole house. Press the sash closed and confirm it still operates smoothly. Repair small gaps early. Larger cracks, rotted wood, fogged glass, or loose frames need a qualified inspection. A quick patch may look successful but hide moisture damage. Recheck the repair after heavy rain and a cold night. The result may not be perfect, and that is useful information before negotiating a purchase.
Before buying a home, inspect every window, not only the attractive ones. Check for cracked glass, soft wood, peeling paint, and gaps around the frame. Open each sash slowly. It should move without force or a scraping sound. Look for condensation between panes, which may indicate a failed seal. Test locks, screens, latches, and weather-stripping. Small defects matter.
Compare repair and replacement costs carefully. Replacing weather-stripping or repairing a latch may cost little and improve comfort immediately. Reglazing one cracked pane can also preserve a sound frame. However, warped frames, repeated drafts, and damaged seals may justify full replacement. Energy-efficiency guidance reports potential savings of up to 15% after upgrading inefficient windows, though actual results depend on climate, glass type, installation, and household habits. Ask for itemized estimates. Include labor, disposal, interior trim, permits, and future maintenance.
Use a flashlight around the edges at night. Hold a tissue near closed windows to detect moving air. Notice cold floors below large windows. Measure each opening before comparing products. Request performance ratings, warranty terms, and installation details in writing. A cheaper quote may exclude flashing or moisture repairs. I once underestimated trim damage because the visible frame looked acceptable. That mistake changed the budget quickly. Insist on a moisture inspection when staining appears below the sill. Check exterior caulking, drainage holes, and nearby roofing before approving replacement.